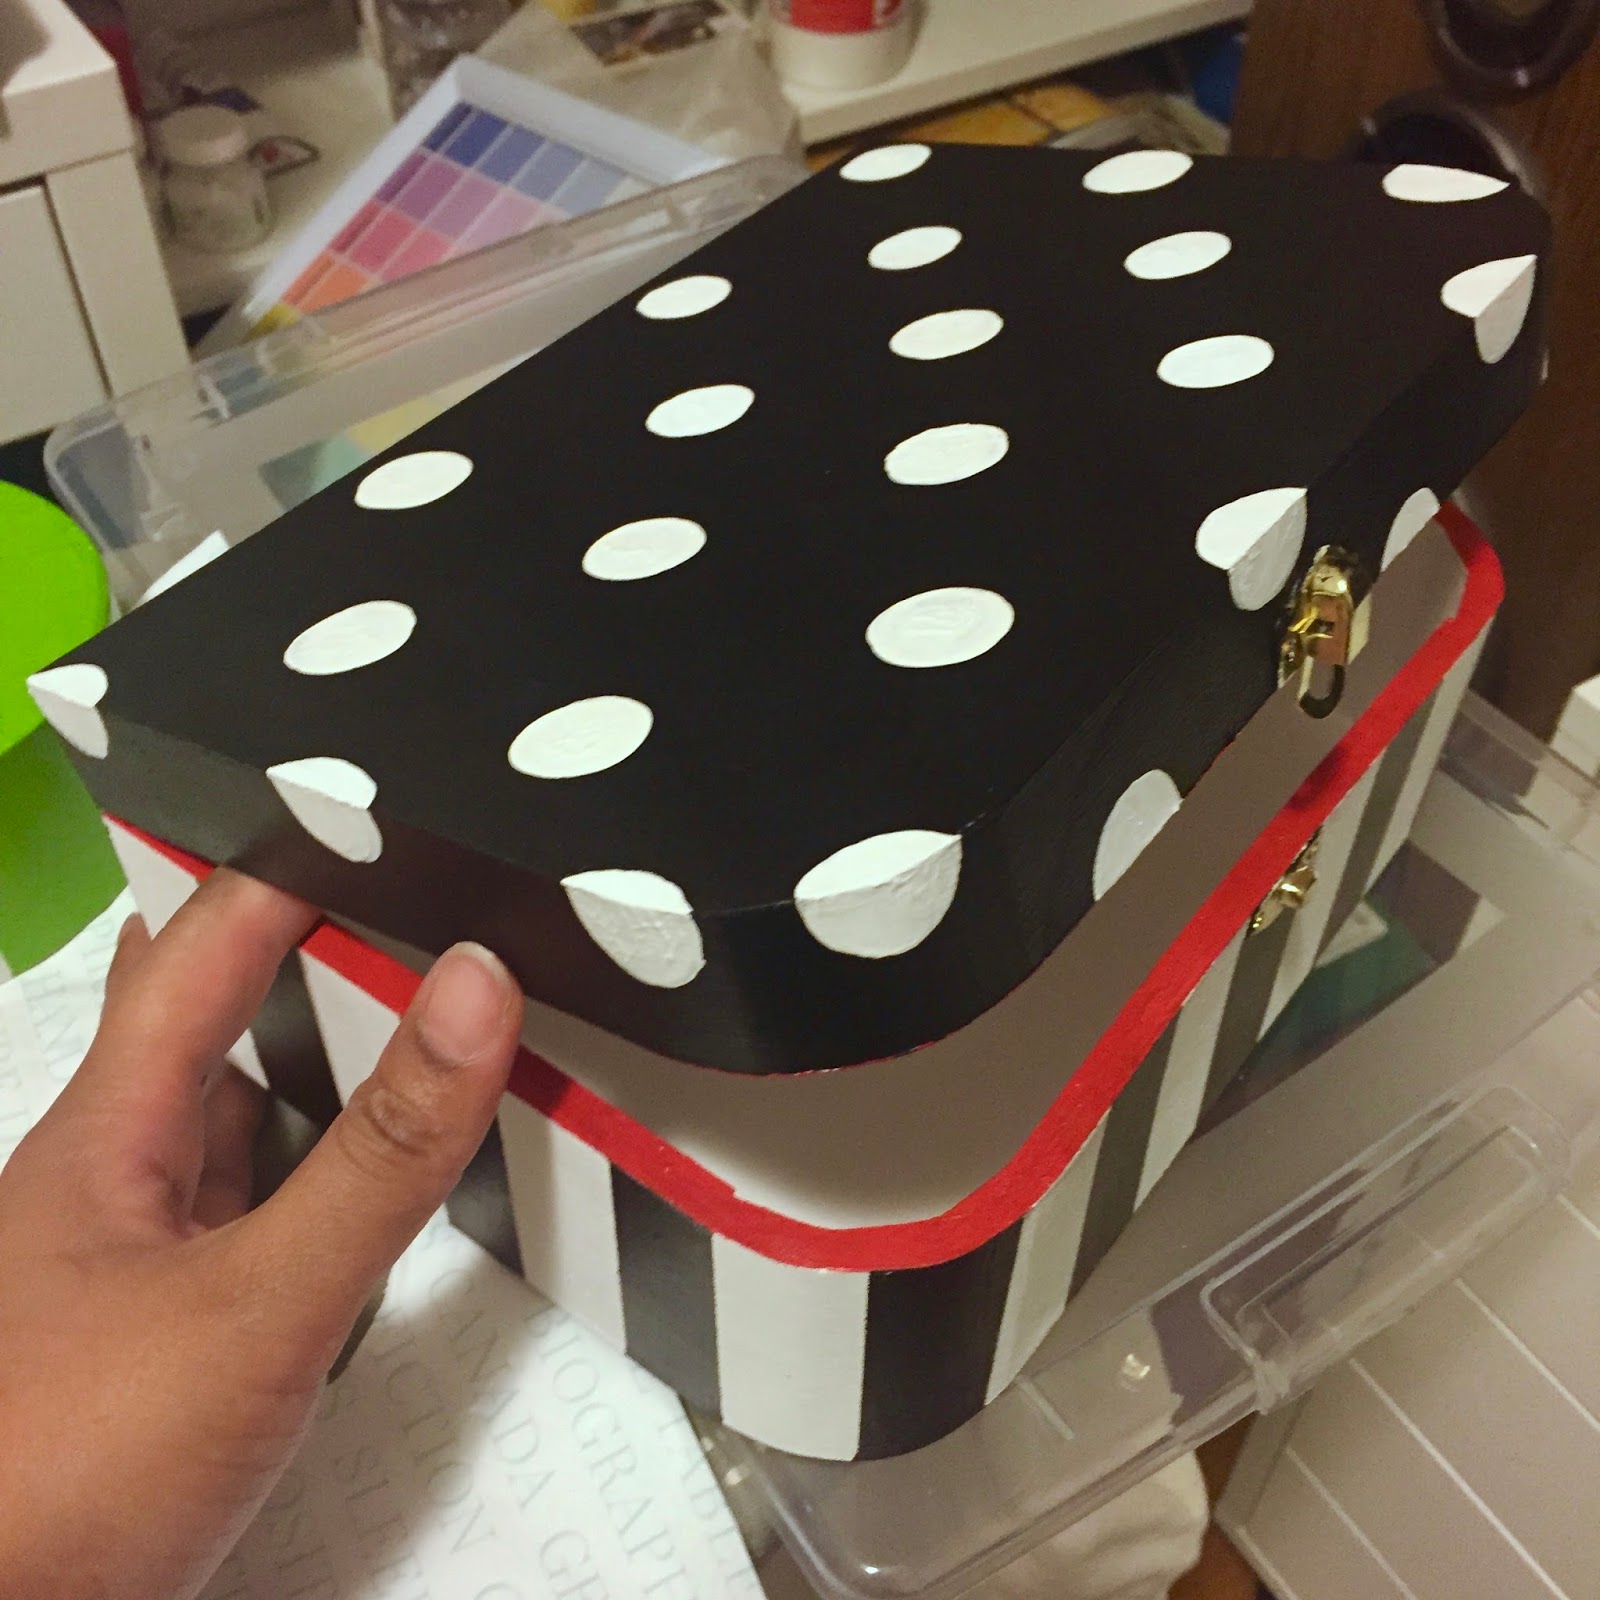
Black/navy stripes, white, and red turn up frequently. This theme could be executed beautifully and with elegance. I figured vertical black and white stripes on the side, black top with white polka dots (why not?), white rims, and red on the inside.
I taped off the stripes and painted them black, and painted the top of the box black.
 |
| Painters tape is a good time |
 |
| I think it looks good even just like this. |

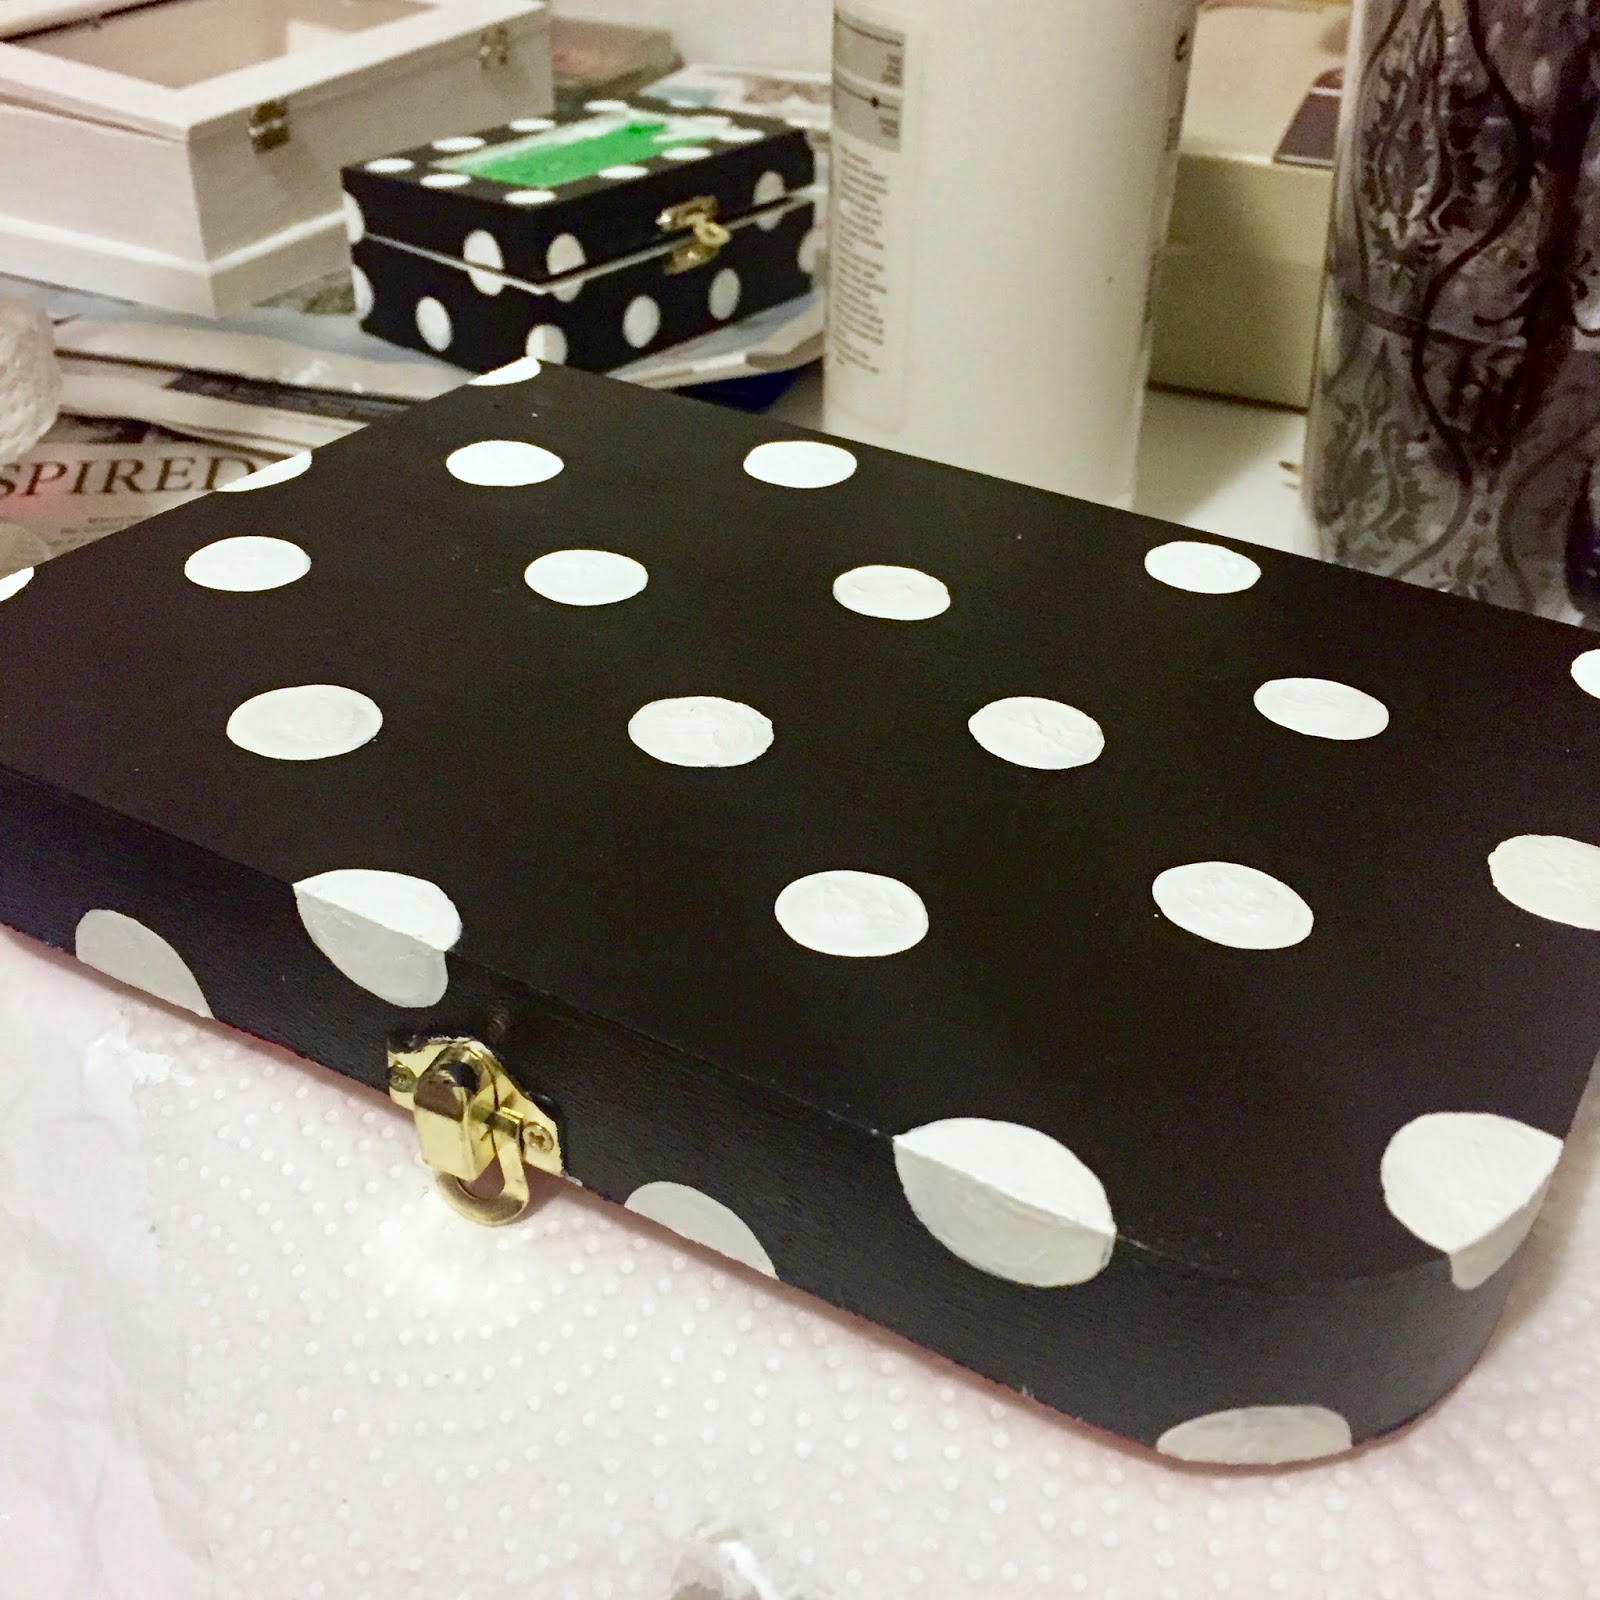
Polkadots are tricky things. This was my first attempt at a consistent polka dot pattern. I learned that the way to make the pattern was to create a diamond shape with a dot at 12 o' clock, 3 o'clock, 6 o'clock, and 9 o'clock. I tried this out in my notebook and it worked well.

Then I learned that the way to get consistently sized dots is to use a stamp-like object. The internet recommended a pencil eraser. I found that I had no unused erasers in the house. Since they'd all been used none offered a perfectly horizontal surface for stamping. They were also too small for the scale of this box. After much gnashing of teeth and experimentation, I discovered that ear plugs are the perfect tool for this task. They are perfectly round, they were almost the perfect size, they were spongey. I sponged the dots onto the box in the diamond-shaped pattern, wiggling around the ear plugs to make each dot just a little larger than the diameter of the ear plug.
Though this worked reasonably well, there were a few drawbacks. First, the spongey nature of the ear plugs and the action of stamping paint onto paint meant the polka dots were each kinda goopy and splooshy. They were not flat. Although annoyed at this bit of non-perfection, I decided to think of it as a charming tactile sensation and carry on. As with everything about these boxes, the polka dots needed 2 coats of paint. Trying to apply a second coat with the ear plugs wasn't going well: they were getting more goopy and splooshy, and their sizes were becoming inconsistent. After all this effort, I ended up doing the second coat with a paintbrush, while tidying up the sizes at the same time.
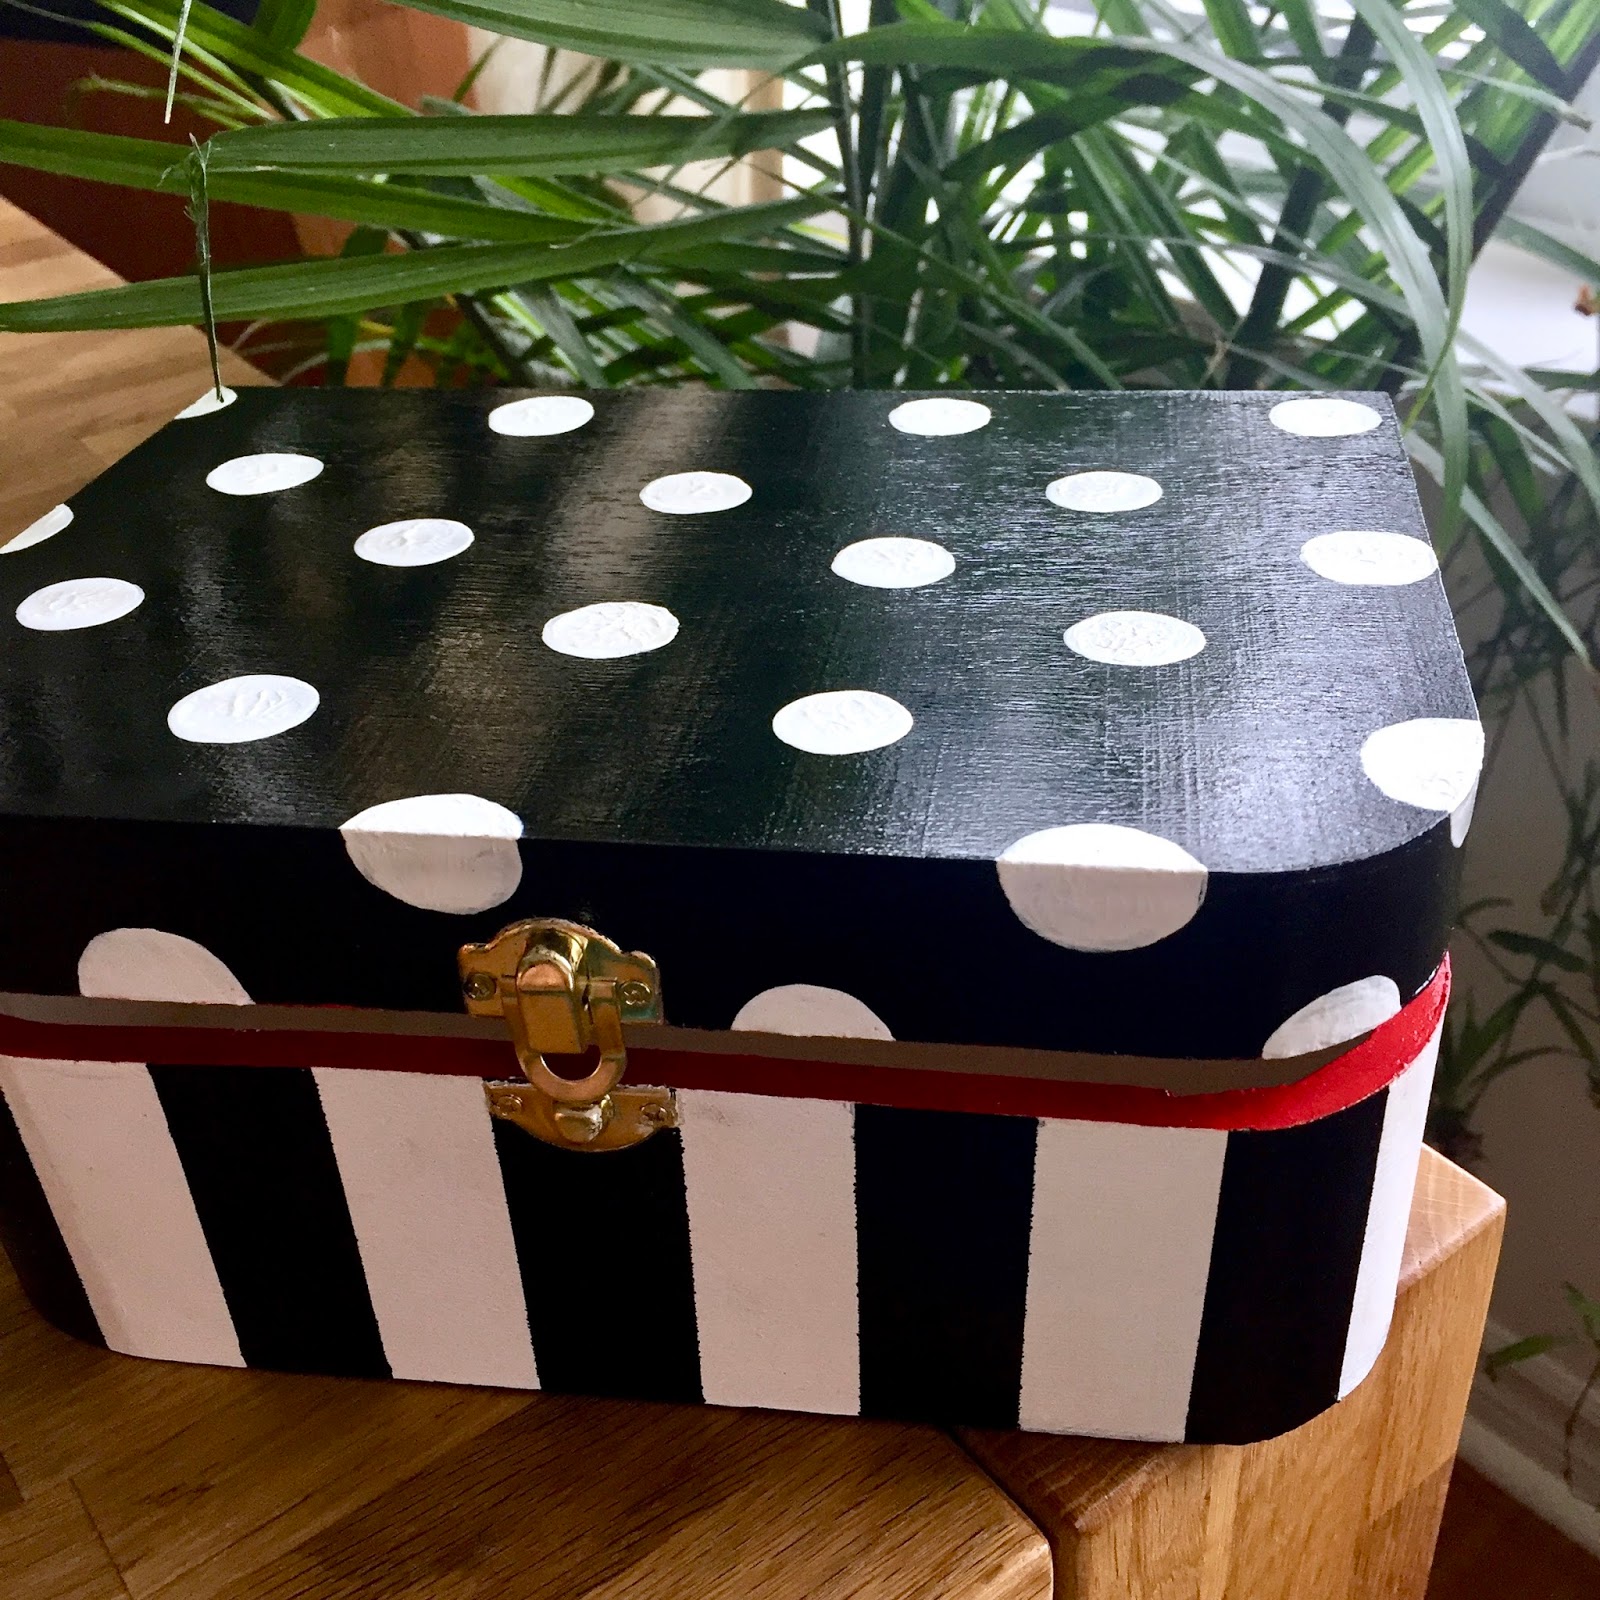
The finished product looked pretty good...and maintained a charming tactile sensation if you ran your fingers over the top.
 |
| Final product |
The new owner of this box, one Miss N, tells me she will find a way to line the inside with red velvet. That sounds brilliant to me and I can't wait to see it added.
Link to first post in this series:
Painted Boxes for Christmas